5 Steps to Bathe a Newborn Baby – the Japanese Way
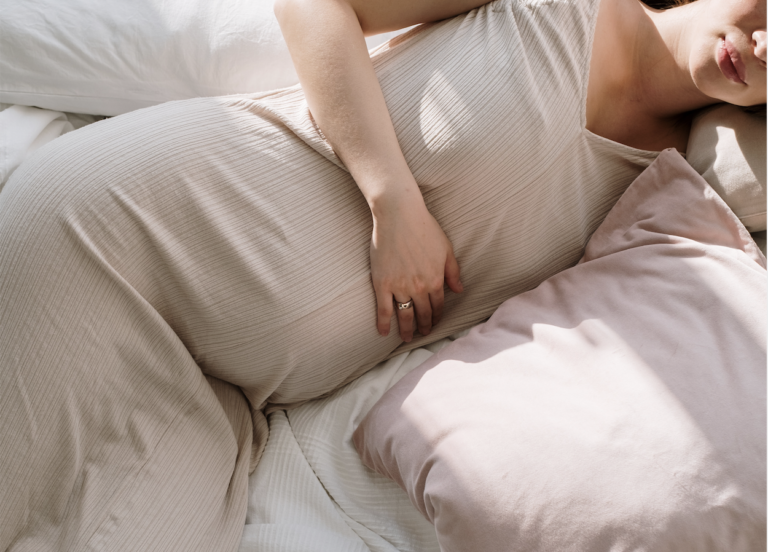
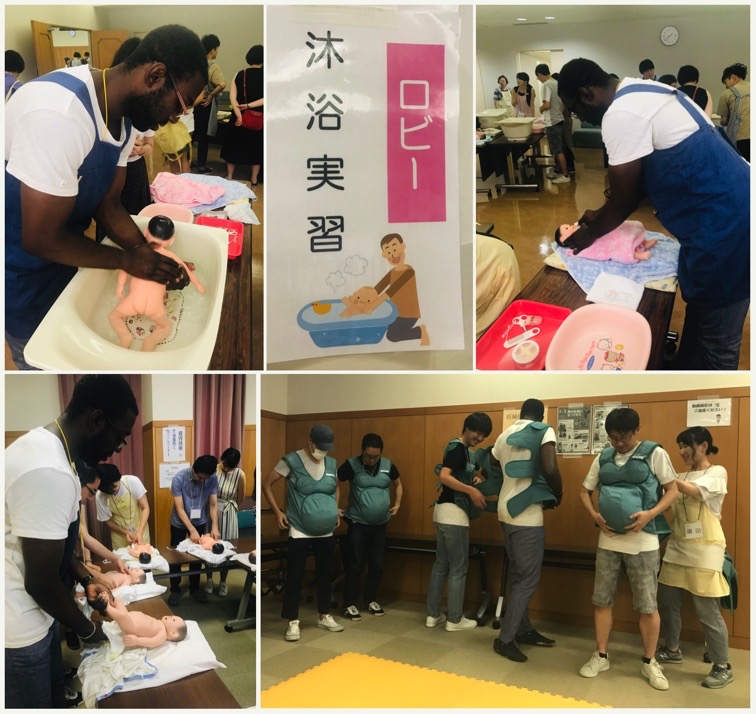
“But they are so slippery!” From comedians to male but also some female friends – this and the concern of how to safely bathe a new born baby was one of the main comments I received when expecting my first baby. Participating in the “Mama Papa Class” in Japan might have been the best way to learn how to bathe a new born baby. After all, Japan is known for its uncertainty avoidance, risk aversion, preparation and process improvement qualities.
In the last trimester, our ward in Tokyo was offering a “Mama Papa Class” that included a course on how to wash a new born baby. To be honest this class was more a “let’s make sure Papa has at least done it once” class as the activities were almost entirely performed by the dads-to-be in the class. My husband thoroughly enjoyed the class and bonded quickly with his baby. I got a second course on how to bathe a new born baby in the hospital when my baby was 4 days old, for both my first and my second born. They also showed us at the Birth Center with our 3rd baby in pretty much the same way.
In this article I will share with you a step-by-step guide on how to safely wash a newborn baby the way I have learned it in Japan as well as all the items you have to prepare before you get started.
Items to prepare
- Baby Bath such as the Stokke Flexi Bath
- Bowl
- Thermometer
- Towel with hoodie, we got our first one from Ikea and many as newborn gifts. Here’s an example but any will do.
- Baby soap/shampoo, we started with the Weleda Baby series but then switched to Bioderma products
- Baby lotion, we also used the lotion from Weleda at first, then switched to Bioderma
- 2-3 wash cloths
- Fresh diaper
- Pyjama / new clothes
- Cotton buds
- Hair brush
- Navel disinfectant
Step-by-Step Guide to bathe a New Born Baby
Especially in the preparation of bath time, you can see how the Japanese like process improvements to the point that they are fool proof, safe and the most efficient. It is also a classic case of reverse-engineering where the process has been looked at from the beginning and the end to achieve the optimal set up of process steps. But enough theoretical talk, let’s get into it.
Step 1: Preparation of Items
In Japan, preparation and eliminating any doubts before the actual event is everything – and it doesn’t stop at a baby bath. Find a place that has enough space to place the baby bath, the towel and clothes closely together. Then, get all the items listed above ready and set them up in the following way. Your baby is safely lying in their crib or bouncer where you can still see or at least hear them.
First, lay down the clothes you want your baby to wear after the bath as the bottom layer. Make sure it is on a soft underground like a blanket. Then, place the diaper openly as the next layer on top of it. Now lay the towel with hoodie as the top layer.
Then, place all the items like soap, cotton buds, brush, wash cloths near to your pile of clothes, diaper and towel.
Lastly, prepare the baby bath with warm water and add some of the warm water to the little bowl. Place both near the pile as well.
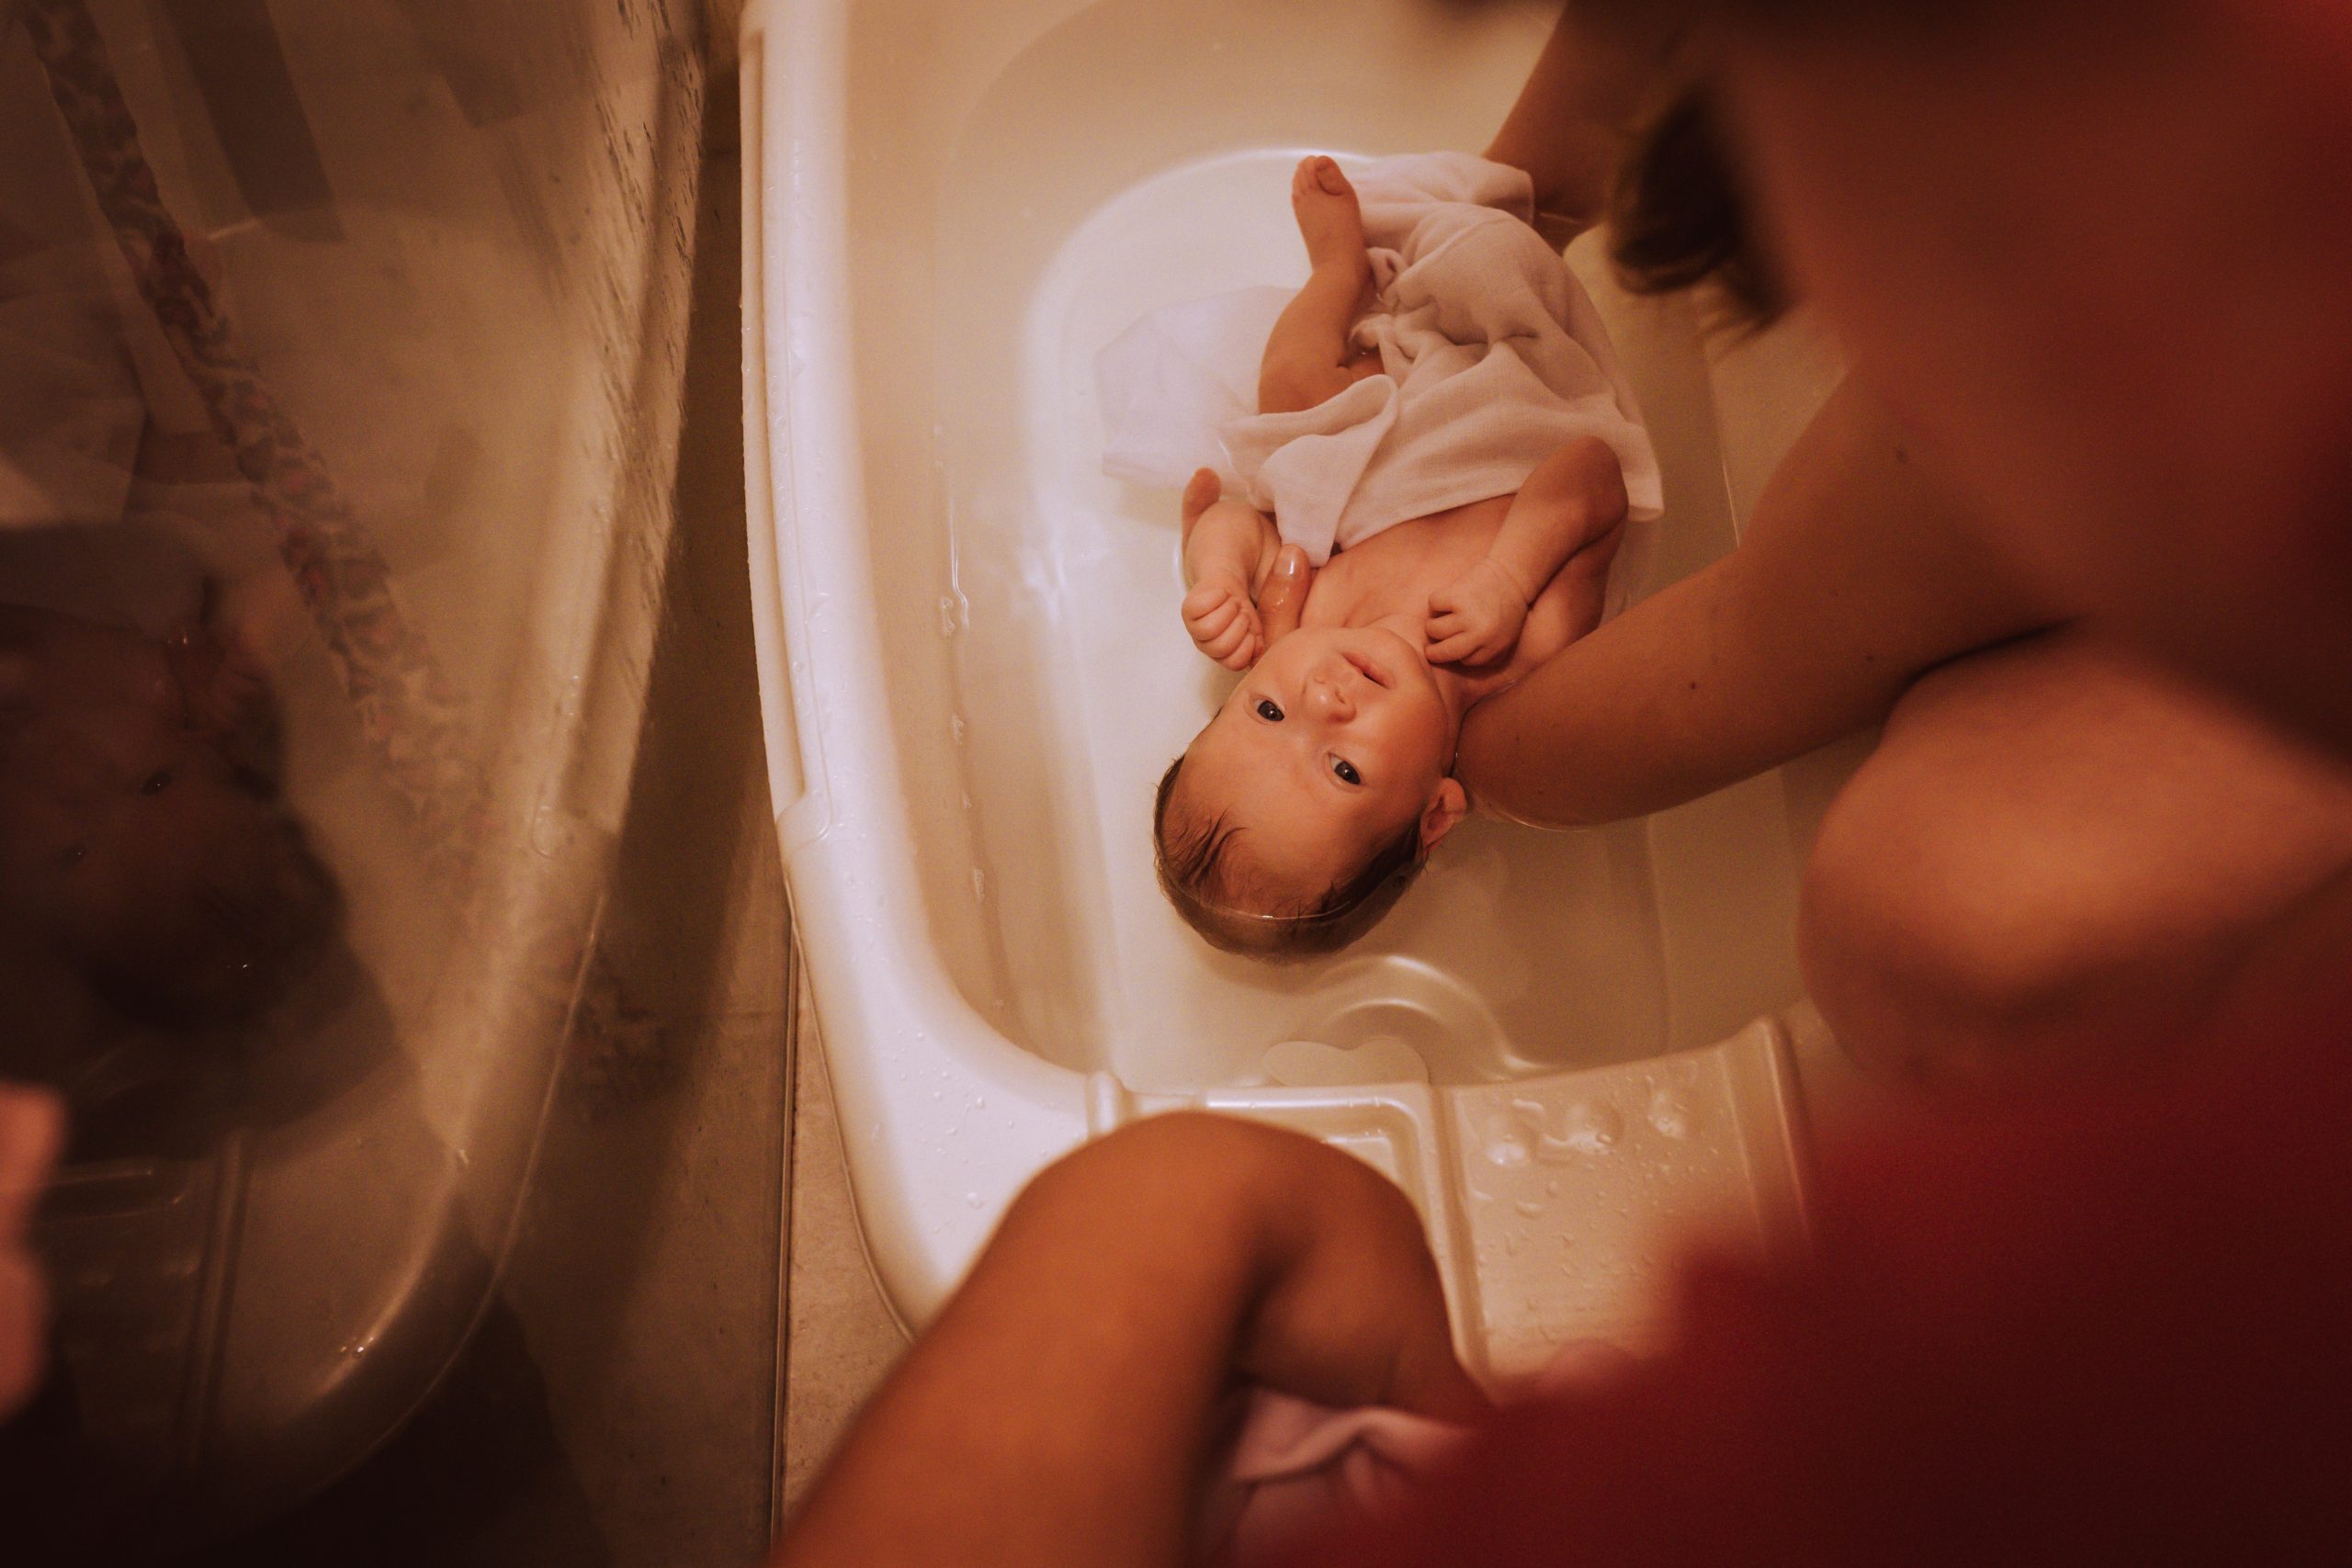
Step 2: Preparation of Baby/ Start washing the baby
Now that everything is ready, go get your baby. Lie them on the towel while they are still dressed. We leave the clothes on the baby so they don’t get cold.
Wet your fingers with the water in the little bowl, take a tiny little bit of soap and start washing their face. Cheeks, chin, forehead, ears and the neck. After you applied the soap take the wash cloth, wet it in the little bowl and gently wipe the soap off the face. With a wet cotton bud clean their eye lids. Move the cotton bud from the outside of the eye towards the nose.
Take another little bit of soap or shampoo on your wet fingers and start washing baby’s hair. You did not miss the step – baby is still in their clothes and lying on the towel. I recommend to have a little wash cloth under their head and back so that the towel underneath stays soap free.
Now it is time to undress the baby. Depending on the type of clothes, open it only as much as necessary to wash the next body parts. Leave the top around baby’s arms and shoulders as you put a little bit of soap on the belly. Then continue to undress baby and apply soap on arms, legs and bum.
I am right handed so I will explain the next steps from that perspective. You can of course do it the same way just using your other hand and the other shoulder of the baby. To get to their back, grab the right shoulder with your left hand so that your thumb and index finger are wrapped around the arm. Roll baby on the side over the left shoulder and apply soap to the back.
Now baby is ready to go into the water!
Step 3: Bathing the Baby
To lift your little one move your left hand underneath their back towards the shoulder. Use again your index finger and thumb to grab the arm as close to the shoulder as possible. Baby’s neck and head should then be able to easily rest on your forearm. Your other three fingers support your baby’s back. Go under baby’s bum with your right hand and lift it towards the water.
Continue to secure baby’s head and neck with the same hold as you lifted it. Once the baby is in the water quickly put one wash cloth wet with warm water on baby’s stomach. This helps the baby to stay warm and to not feel so lost all of a sudden. As you rinse the soap of the baby always re-apply warm water on the wash cloth to keep it warm. Wash the soap of its arms, legs, hair, bum and the whole front area.
Turning baby on their front
Now it’s time to turn baby on its front so that you can wash their back. Don’t worry, there is a safe instruction on how to do this as well.
Grab your baby’s left shoulder with your right hand. It is the same technique as before – your thumb and index finger wrap around the arm as close as possible to the shoulder. As your left hand was holding the same spot before you have to transition the part of the arm from one hand to the other. Move your left hand away from the shoulder but continue to support baby’s head and back. As you feel safe in your grab with the right hand start lifting baby with it while the left hand supports from the back. Your baby will now have their chin hanging over your right fore arm. You can secure that their face won’t get in the water this way.
Rinse the back with warm water so that all soap is gone. An important recommendation from a lot mommas is to check behind the ears. Milk or spit residue might accumulate here. Make sure to check and clean it as your bathing your baby.
Turn baby back on their back and let them enjoy the water a little bit in case they do.
Step 4: Get baby out and finish the wash
Still holding your baby around its left shoulder you can now easily move your right hand under their bum to lift them out the water. Quickly place them on the readily prepared towel and wrap them in it.
Grab a cotton bud to clean its nose and ears. Hold the cotton bud very closely to the cotton part. This will prevent you from the risk of shoving it up baby’s nose or ears too far. The cotton bud helps of course to clean but also to absorb the water that is still around.
Lastly, use the navel disinfectant or any product you received from your doctor and clean the belly button around the rest of the umbilical cord.
Now your baby is all fresh and clean.
Step 5: Drying baby and putting on clothes
Gently pad the baby with the towel to make sure they’re all dry and rub the hair with the towel a little bit. Keep the towel wrapped around baby as much as possible while you apply lotion. Especially the head should stay in the warm towel while the hair is still wet.
When baby is dry and moisturized, remove the towel the following way. Use the thumb-index finger-shoulder grad technique to roll your baby on its side. Roll the towel up towards baby’s back and roll the baby over the towel back on its back. Now use the grab the lift baby to the other side and remove the towel.
If you set up was well done, baby should now be lying on its diaper, ready for you to close it.
Lastly, put on the clothes you had prepared and that baby should already be lying on.
Brushing the hair with a soft baby brush was still part of our training. Whether to blow dry the hair or not was mentioned. I’m sorry I’ll have to leave you without any great tip from Japan on this one for now.
Conclusion
Bathing a new born does not have to be scary or difficult at all. With the right technique and one or two practice rounds, everyone should easily feel confident to bathe their new born baby safely. The Japanese way is a very elaborate and thought through process that might help you to gain confidence in washing your new born and managing the whole process from undressing to washing to getting dressed again.
Where were your babies born? How were you taught to wash your new born baby? Tell me your stories below. I would love to hear and learn about other techniques.